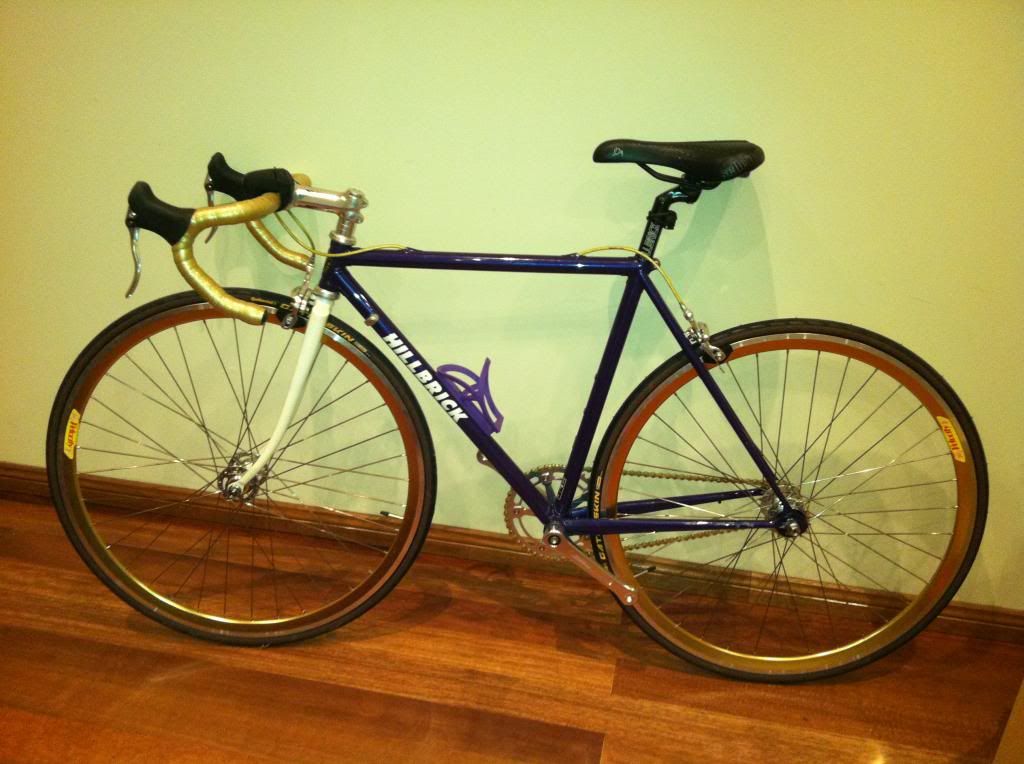
1. A 1996 Hillbrick frame (found by Stuart)
2. Velocity Rims (recommended by Simon Llewellyn)
3. Second hand handlebars (provided by Lizanne)
4. Assembled by Deus Ex Machina (completed by Aimee)
5. Sram Red Brakes (installed by Christian) to take on Macquarie Pass
As I can't ride a frame that Christian has made (due to insurance reasons), and I'm renovating this year so can't buy a new bike, I've decided to pimp up the fixie instead. The paint on the frame was looking pretty rough, so, with Christian's new air brush kit, we (he) thought we would improve it's look by stripping the original paint and spraying a new colour scheme. Here are the results.
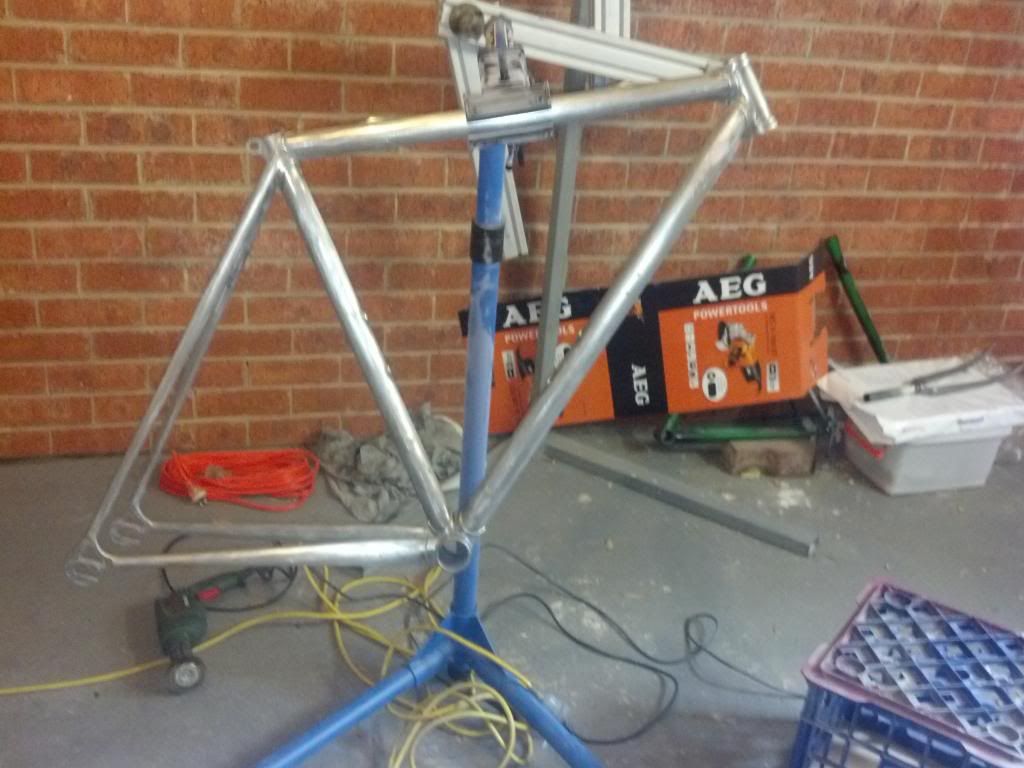
Attacked by an oxy torch to remove the road braze ons as I intend for this bike to remain a fixie. There was a lot more paint that originally thought so the stripping of the paint took longer than anticipated:
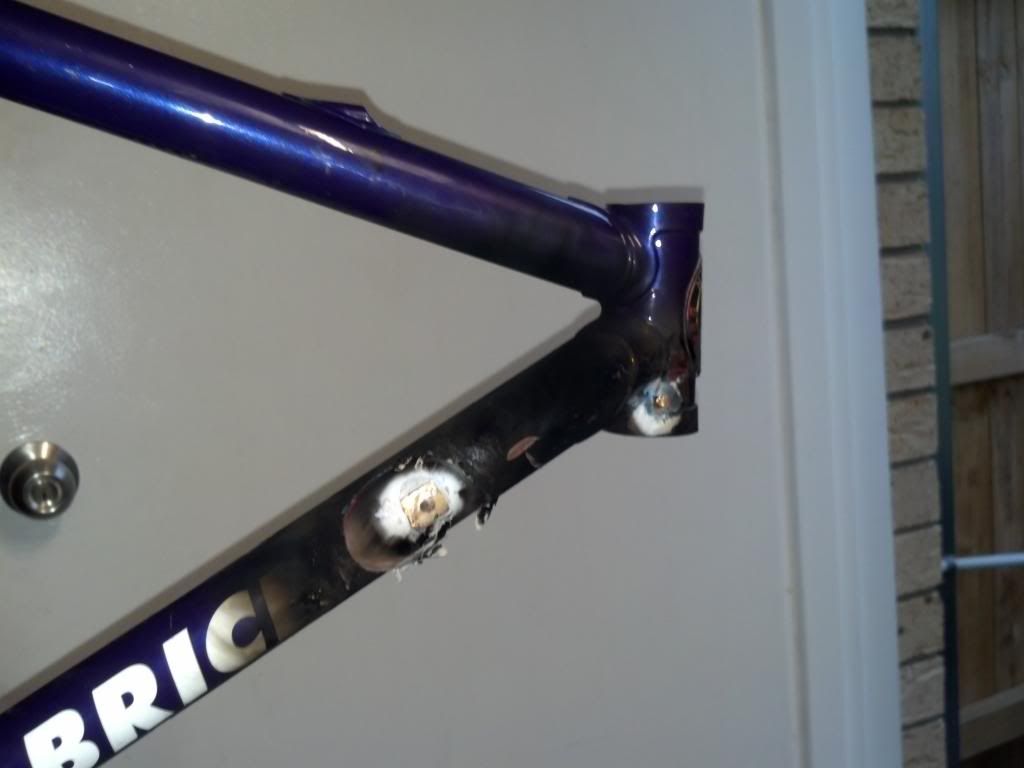
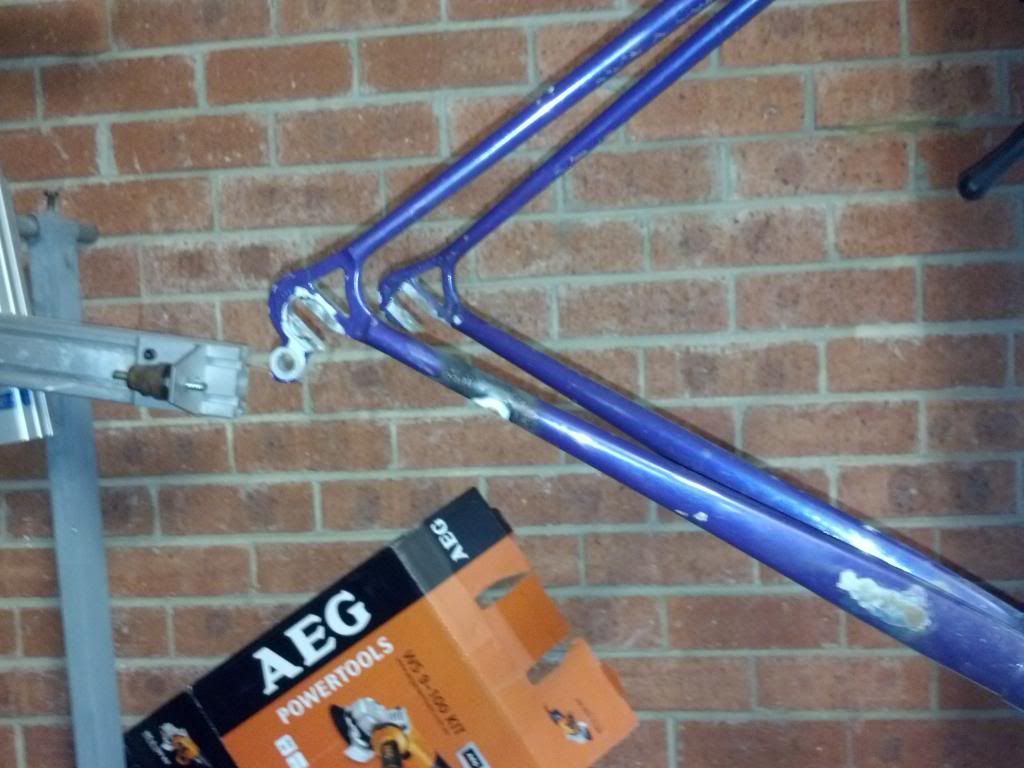
Bare frame. Once stripped, a dent in the top tube was uncovered that would have occurred during manufacture given it had been filled and painted over. You can't quite make it out in the photo:
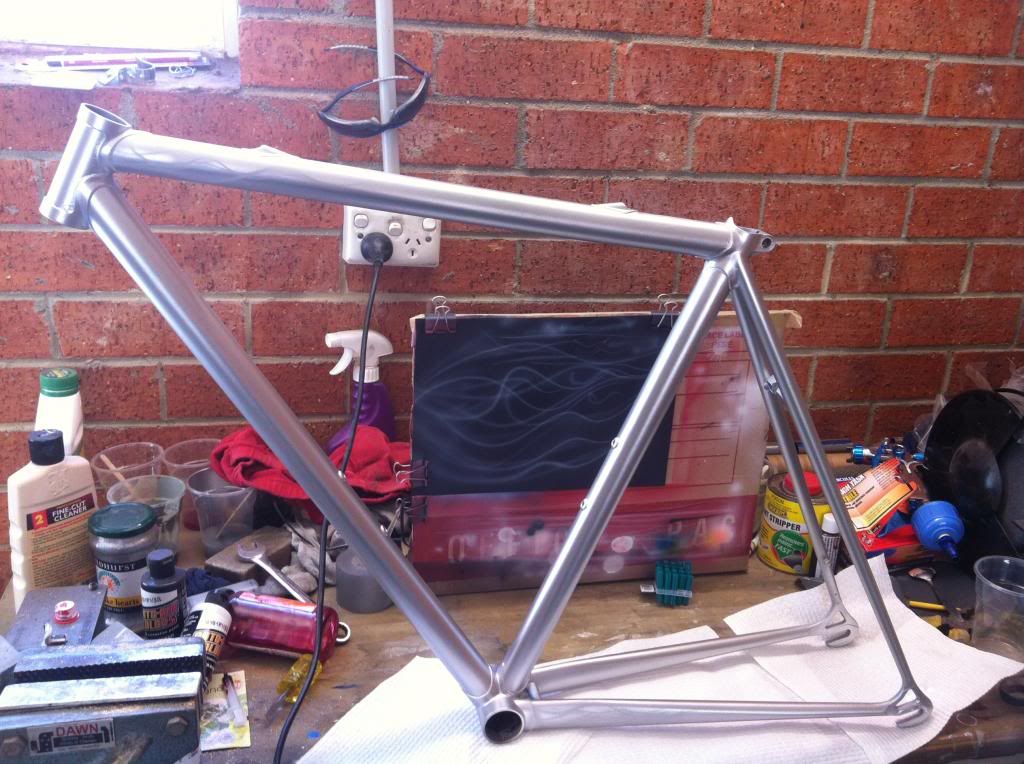
Silver basecoat. This is a high metal metallic basecoat that will shine through the 'candy red' top coat to 'sparkle' in the sun:
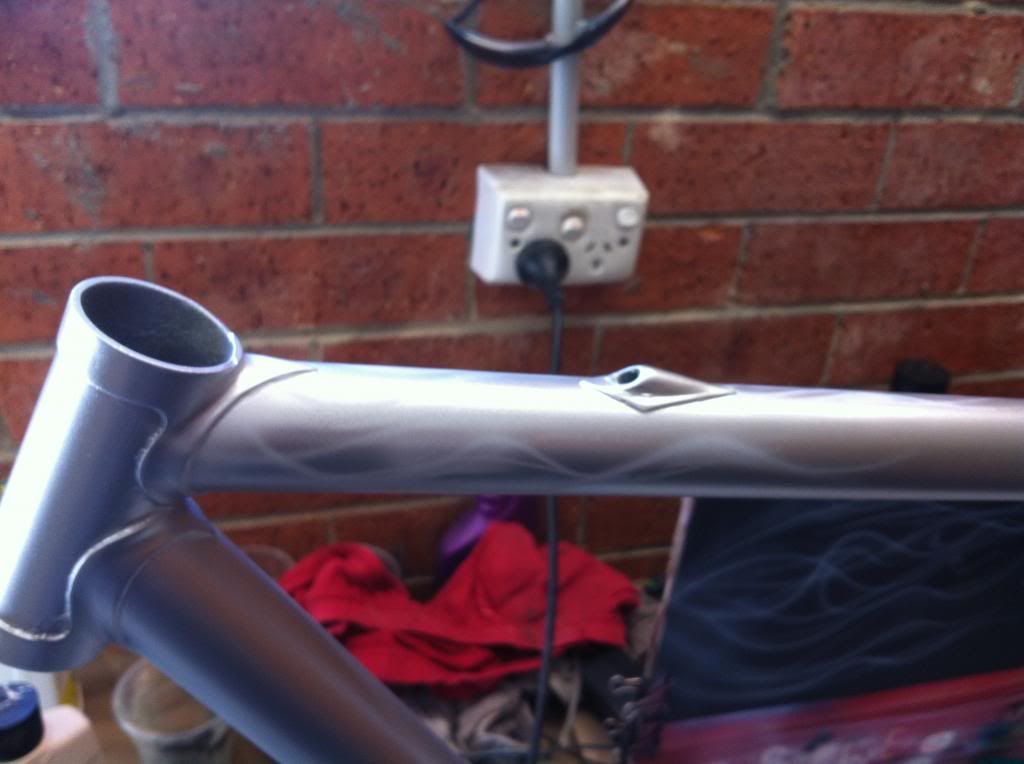
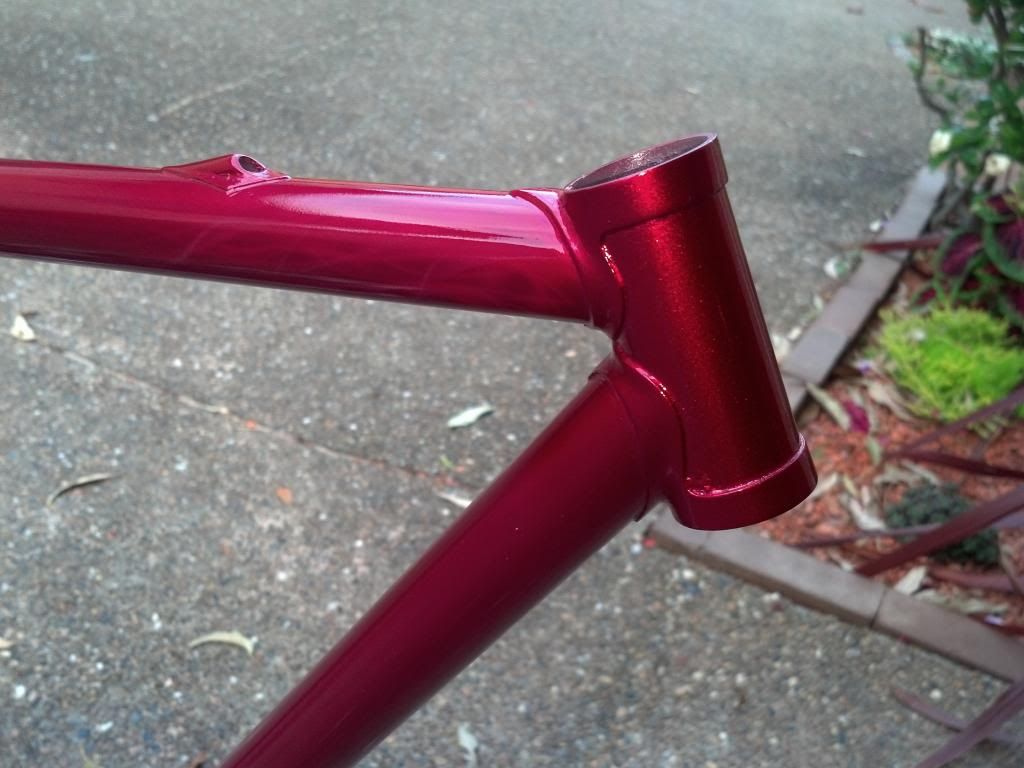
Badass flames:
Candy red:
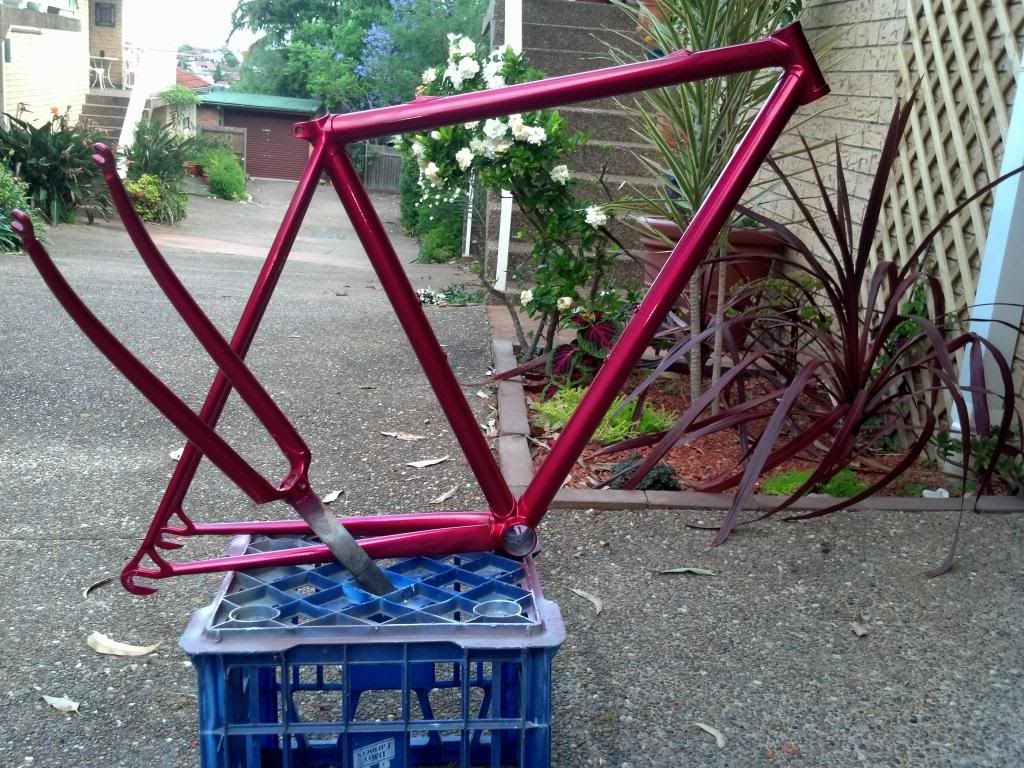
You can just make out the flames here and the metallic silver can just be seen coming through the head tube. This has also had 2 coats of clear top coat sprayed to give it it's 'shininess'...
The red is curing. Watch this space for the final bike in all its glory...